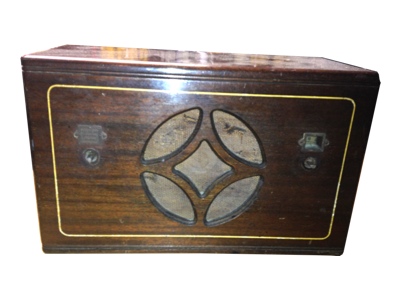
This is a radio that I just bought because of its look as well as the good price, because it was in a very poor overall condition. I acquired this set at the XXX Kutztown Radio Show flea market, in May, 2014. The set was missing the 2 knobs, cabinet sides were loose, chassis was very rusty, the power transformer was open in the high voltage secondary winding as were the primary of the output transformer and the 10K wirewound potentiometer. Well, I put it aside for weeks, thinking about what to do. I thought about given up on the radio. No, no way, I have never given up on a radio before! Thus, I decided to restore the radio even knowing that it would be a lot of work.

Chassis Restoration - I first disassembled the chassis, removing the speaker, the bad power transformer, the two electrolytic cans, the capacitors can, and the potentiometer. Next, the cleaning process was about the same I use for almost all radios. The chassis is first wire brushed to remove the rust as much as possible, followed by a compressed air blowing. A phosphoric acid based product is used to remove the heavier and remaining rust. The phosphoric acid must be removed completely with a tap water damp cloth, washed several times. The chassis is again wire brushed with a finer carbon wire cone brush and compressed air cleaned to get rid of the loosen steel bristles.
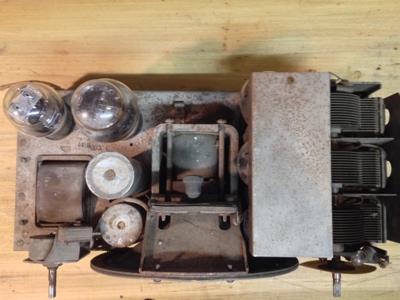
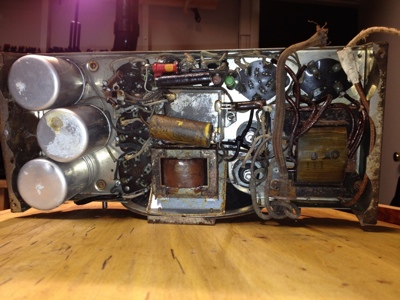
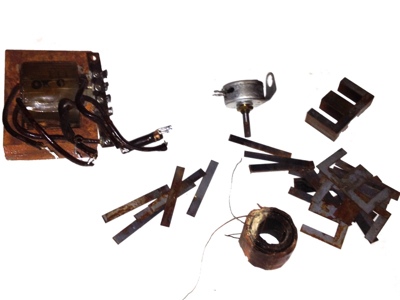
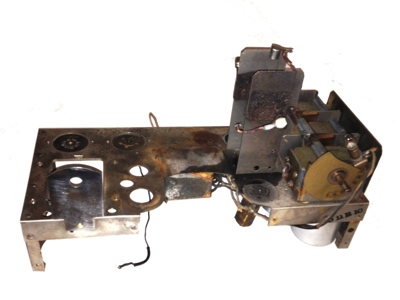


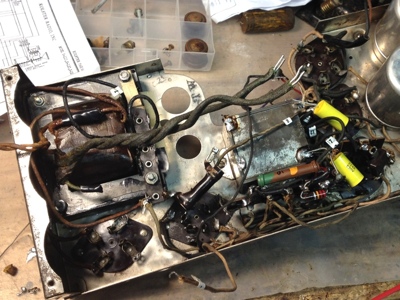
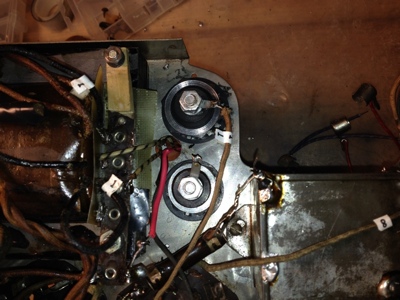
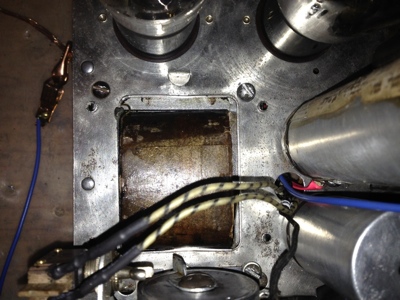
Then I went to my junk box to look for a similar power transformer with secondary windings of 2.5 V and 5.0 V for the tube filaments. I found several with 6.3 V and 5.0 V and, luckily, one transformer with the characteristics needed from a Kolster radio model K-120 that I had removed from a chassis I got from some MAARC auction. Great, the transformer was good and its size was just a little bit larger. However, it fitted perfectly the original spot. The next search was for a similar output transformer that would fit the place on the loudspeaker frame. It was not difficult to find one among a handful I have in my junk box. The third challenge was to fix the wirewound pot. Carefully, I disassembled the pot, removing the shaft rivet located on the back of its housing with a dremel cut-off wheel, then removing the back lid to reach the resistive wire wound element, and finally removing the rivet to get the resistive element out of the case. Using a multimeter, I found two open turns that I bypass using tiny and thin pieces of tin that I stuck in the winding. I put all parts back together and the pot reading was 9.3KΩ, very close to 10KΩ, the original value. At this point I got really excited about the restoration project. The major challenges were overcome! Next, I removed the tar and eight caps from the can that was re-stuffed with new caps with the same values. Later, I realized I have put two 0.025µF in place of two 0.25µF caps inside the can. No problem at all, the right caps were soldered out of the can, on the right terminals. The next step was to replace the out of specification resistors. All, but two resistors were far away from the original values and a total of 9 were replaced. All tubes tested good and a #41 dial lamp replaced a not too shining #40. The waxed paper electrolytic caps were replaced by new ones with the same values, soldered in the same terminals, pretty much close to the original positions. The chassis was assembled back, the tubes were inserted, the antenna was connected, and the radio was then tested. A flick of the switch and 15 to 20 seconds later and a mellow sound filled the environment. The radio worked great all dial extension. Before the final assemble, a new cloth covered power cord was used to replace a plastic one, and the original plug was connected back.

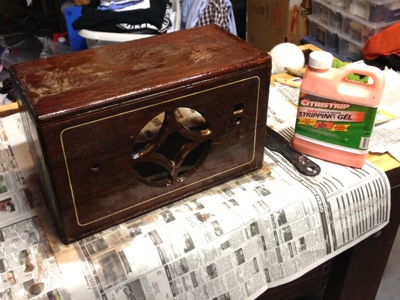
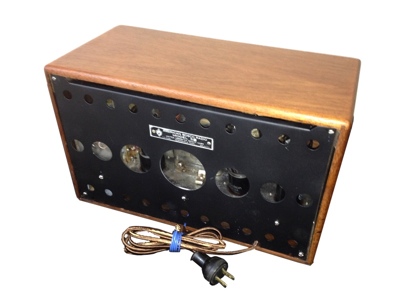
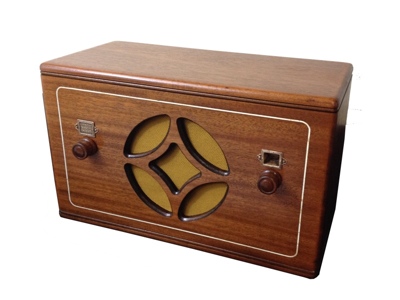
Cabinet Restoration - The cabinet, although a little bit loose, was easy to restore once it is made of solid wood. No veneer to worry about. The old finish was stripped with a citrus base remover, a plastic putty knife for scraping the softened lacquer, and an old nylon teeth brush for the details. The cabinet was cleaned with a rag moistened in mineral spirits. In the next day, after completely dry, the cabinet was sanded with 180, 220, and 320 grid sand papers. After cleaning all dust with a tack cloth, the cabinet was refinished with about 7 layers of semi-gloss lacquer by Mohawk. The radio back, made of metal sheet, was wired brushed and treated with a phosphoric acid based product to remove the remaining rust. Then it was painted with a layer of primer followed by 2 layers of flat black enamel on both sides. The speaker grill cloth was replaced by one quite similar to the original. I bought the two wooden knobs from Geoff in the July MAARC meeting.

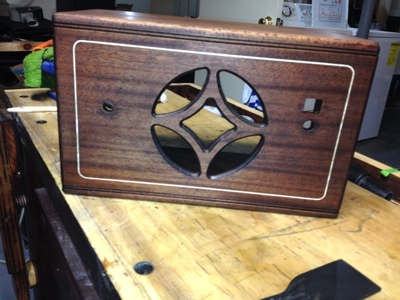

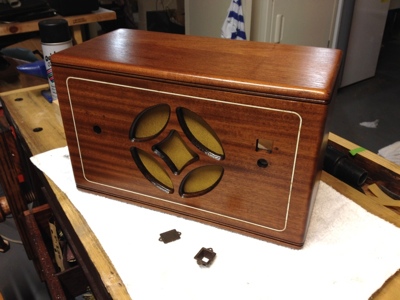
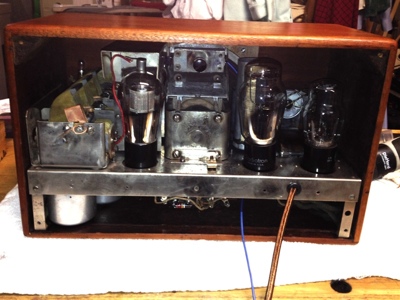
The final step was to assemble the chassis in the cabinet, to screw the back, to put the knobs, and turn it on. I think this was a great restoration process as well. I got a set in a really bad condition and put it back to life in a very nice refinished cabinet.
Click here to take a look at its page for more photos and tech data.